The email templates from the process you copied are in the newly created process. Edits can be made to the made to the emails in the new automation process and will not affect the original process.
In Automation click the plus next to the Process Group (1) where your new process resides. Click the plus by your new Process (2). You will see the icons indicating the attached landing pages, and the email templates. The white envelopes are the prospect template (3) the red envelope is the sales email (4).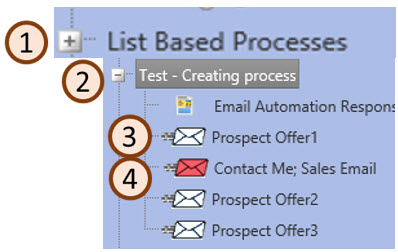
First add the content to your Prospect emails
- Click on the first white envelope in the list, on the Email Summary tab edit the Document Name. It should be a name that makes it clear on the purpose of the email.
- On the email summary screen the subject line should also be listed. This is the subject line seen by the customer
- When you are testing the process we have found that it is helpful to start the subject line with ::Name:: followed by the actual subject line. That is you will know which email you are testing and the steps you want to follow based on the testing template. This template will be discussed later.
- If desired you can also edit the from address, from name, reply to email and reply to name. The values in these fields are copied from the email template but can be edited.
- After your edits are done on the Email Summary tab click Update.
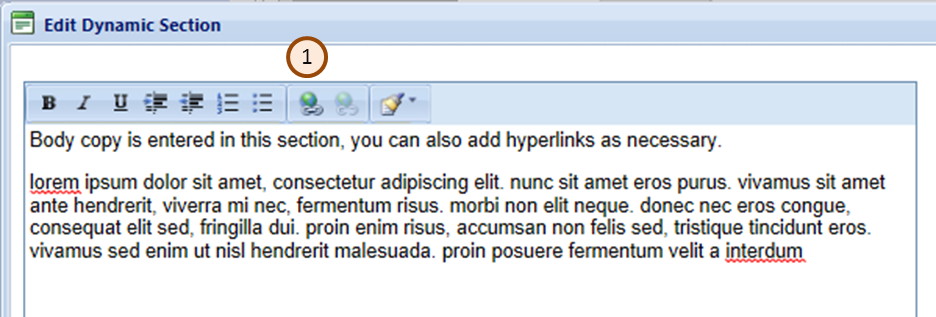
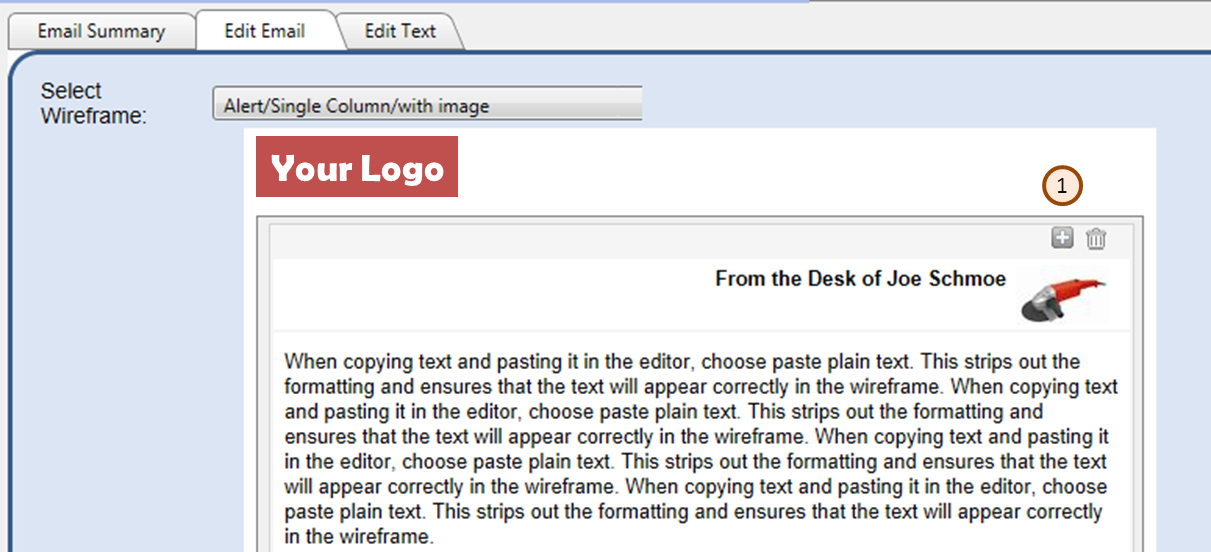
- Click the Edit Email tab to modify the content. The templates are email wireframes so you just need to enter the text, insert webinars and hyperlinks. The templates are designed so there is a draft of the content which should help to give recommendations on the content that can be entered. You can completely change the content, the draft is just a recommendation.
- If you are linking to a landing page in your email template with list based processes make sure to add the “copied” function.
- The purpose of the Copied is function is so that you will create a new lead, since you will need a new lead created and added to your project. If you update an existing leads you won’t be able to track the lead results in your project.
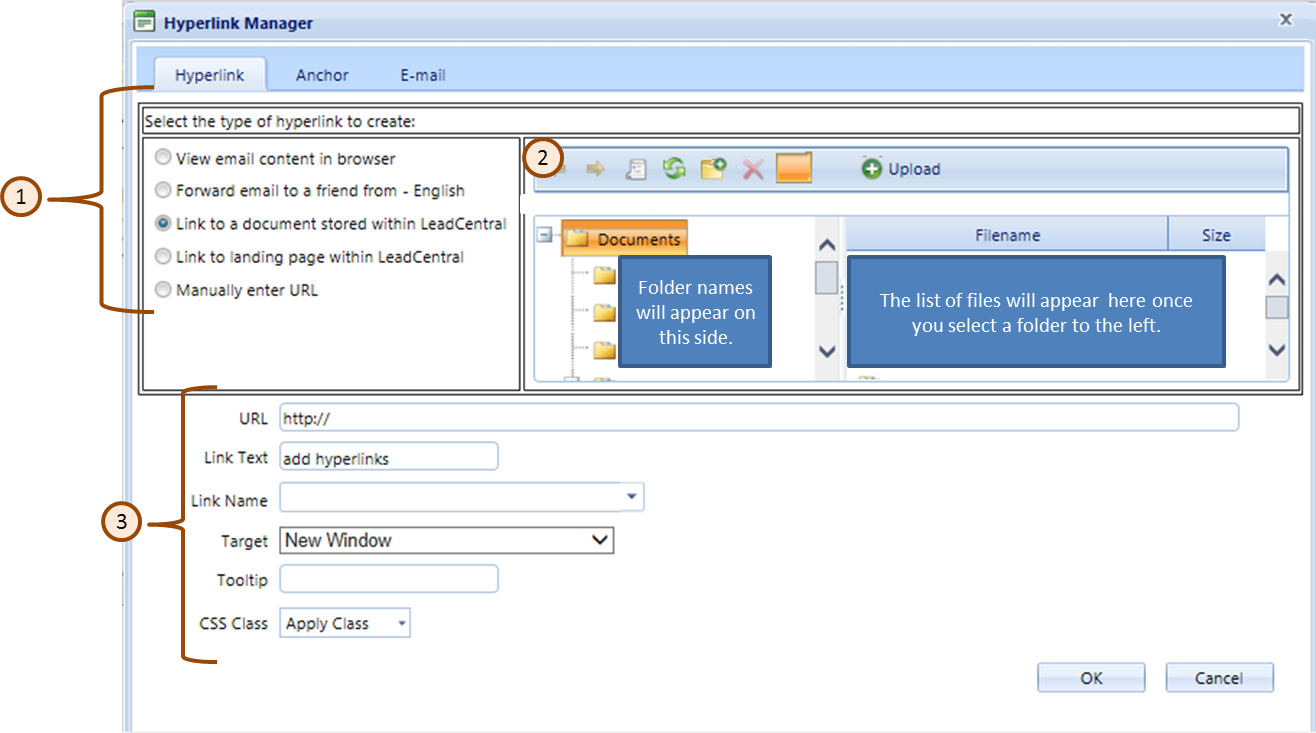
- When you are linking to the landing page make sure you know the correct Landing page id. If you are utilizing the link function to find the landing page you will be fine as the tool will point to the page in your Campaign/Project. You can also verify the URL with the one you wrote down when you were editing the landing page.
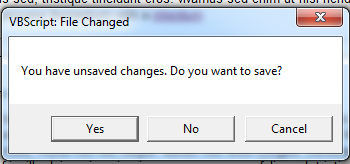
- When you are done make sure to click the Update at the bottom of the screen
- Test the email from the Email Summary tab. If you need additional instructions on how to test the email message view this page. The main goal here is to make sure the content is correct, links are correct and open to the right pages.
Enter Project content into your Sales Email
The sales email is a standard sales email. It is set up so it should work with all your projects, you won’t need to add general detail. If you want to add special instructions or change the basic content of this email you can to the sales email in Automation. You cannot edit the sales email in Campaign Management. You will need to add a source description, we recommend we do this in the project found in Campaign Management.
Updating the Source description
The simplest method is to enter your source description to the project in campaign management as that content will copy over to Automation. To do this click on Campaign Management at the top of your screen, find your project expand it by clicking on the plus next to the project name, click on the “Source Description” text in the blue bar on the left side of the screen. Type your content into the Source Description box. The Source Description can be added to replace the :$:Source Description:$: code on the sales email in automation. However you don’t need to what is in the project will copy over to Automation.
There is a draft source description in your project in campaign management. Using this should help you determine what things you may want to include in your description. You can find more details on what to put in a source description and where to add it here.


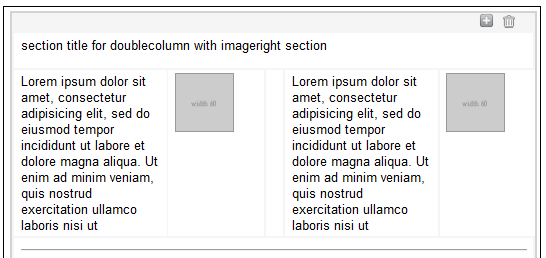
 If the content is two columns wide, like the example to the right you do not need to fill out both sections. The section you don’t complete will show up blank. For example you can enter the article on the left and leave the right article blank.