Lead Definition
Leads are generated when time a person responds to a offer. Example, Sam Smith requests a white paper by filling out a landing page, or attends a tradeshow, or registers to a webinar, ect. Typically each time Sam resounds to an offer or event a new lead is generated. Each lead is graded. The lead grade determines if the lead will be passed on to sales. Typically Hot and Warm leads are sent to Sales for follow-up. Nurture graded leads are not sent to Sales and are records of the individual’s responses. Example, just downloading a white paper is not qualified enough to sent to Sales, so the lead is graded Nurture and can be added to newsletter lists for further nurturing and qualification.
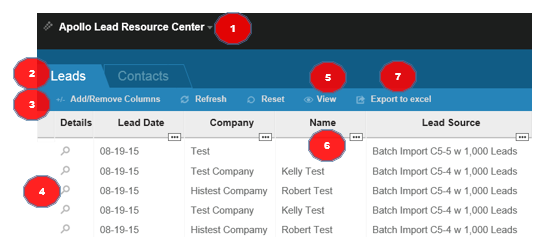
Leads are typically viewed by Sales with the Lead Detail page. The link to the Lead Detail page is emailed to the assigned Sales Person when the lead is first generated in real time. Leads can also be viewed via the Lead Resource Center or Marketing Resource Center.
Contact Definition
A contact is a unique person in the database. For example, there can be only one contact Sam Smith at Stellar Supply Company. When a new lead is generated, the system looks for the related contact. If the contact exists, the lead is attached to the contact. If there is no contact matching the lead, then the system creates a new contact and attaches the lead to it.
There will typically be more leads than contacts. Contact records hold only location (address, phone, company, etc.) and other demographic information. They do not include any information related to campaigns or projects. That information is contained in the lead(s) attached to the contact.
All of a Contact’s activities are logged within the system. If new leads are generated from that contact, the Contact record is updated with new or changed data, like address, phone, title, ect. The new lead is also linked to the Contact record. When emails are sent from the system they are sent to the Contact’s record. All of the Contact’s activity (email opens, links clicked and landing pages visited) associated with email sent are logged.
A User (Sales or Marketing) can view the history of a Contact’s activities and lead(s). Access to the Contact’s history can be done through any of the Contact’s lead Lead Detail page or from the Contact Detail page from the Lead Resource Center.
Target List Definition
The Target List defines the recipients for a mailing. In LeadCentral, you do not actually create a list of recipients for your email. Instead, you establish a list of parameters that define who should receive the email. The list of parameters available is extensive, allowing you to exactly define recipients. You can include list parameters to both include people as well as exclude people.
When you are ready to distribute your mailing, LeadCentral evaluates the list of all possible email addresses in the database(s) based on the parameters you entered and returns the list of only the recipients specified. Creating mailing lists using this dynamic approach ensures that recipient information is always current and that you reach the desired targets.
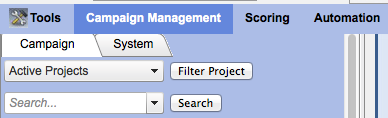
Campaign Definition
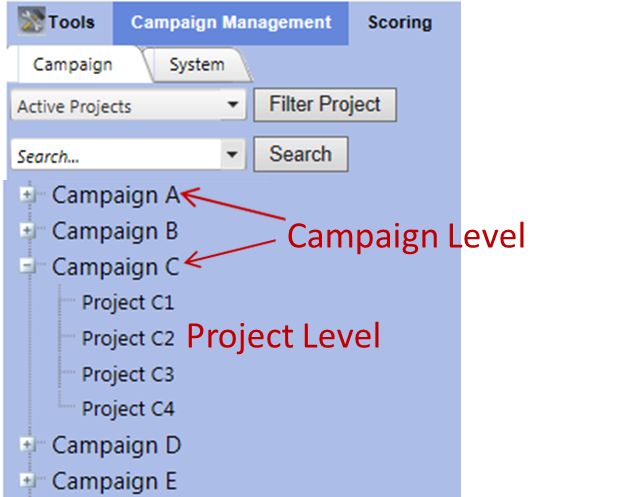
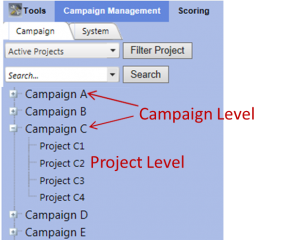 A Campaign is a specific set of tactics, such as Automation and Power World, or Data Center ISI. In the MRC, Projects are organized into campaigns.
Project Definition
A Project is a specific tactic such as a webinar or newsletter. Multiple projects can be organized under a single Campaign.
Source Type Definition
The Source Type is the type of marketing tactic that the lead came from, such as a Webinar, Newsletter, or Media Sponsorship. Each project in the MRC has a Source Type associated with it, and is used in reporting to group results by Source Type.
Source Definition
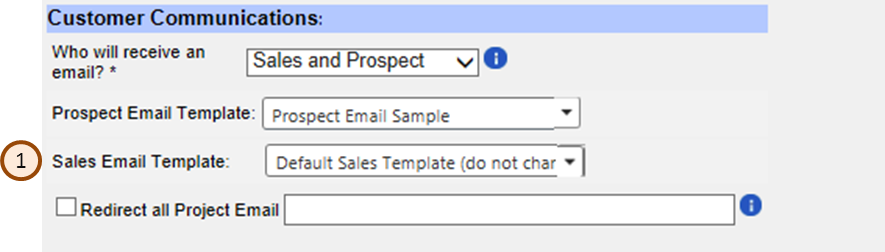
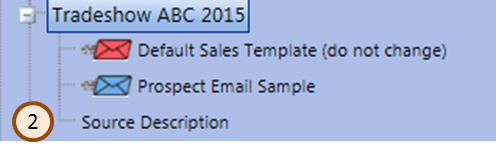
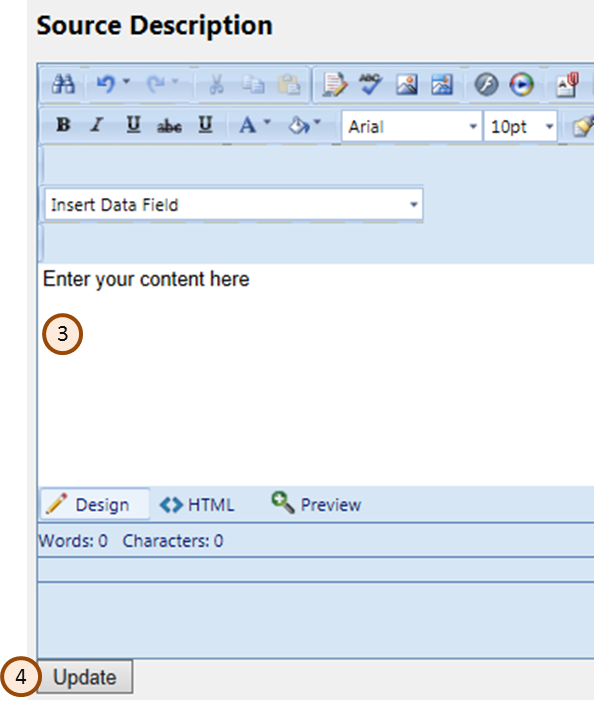
The lead Source is where the lead came from, in other words, the specific tactic that the person responded to. When setting up a Project, the Lead Source is typically the same as the project name, however, the same Lead Source can be given to multiple projects if you wish to group them together for reporting purposes. It is also important to set up a Source Description for sales when creating a Sales Email, which contains details and background information about the tactic for sales.
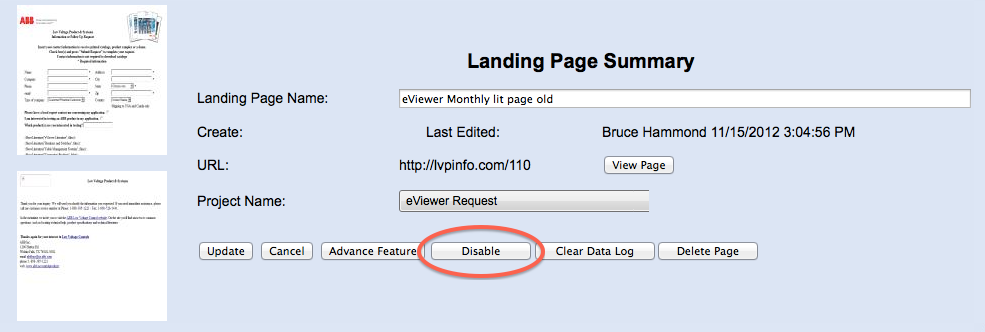
Landing Page Definition
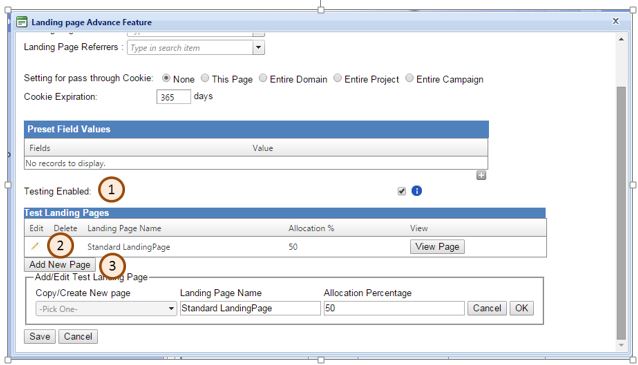
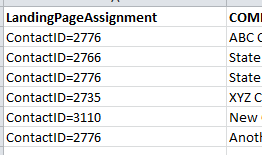
A Landing Page is a single web page that appears in response to clicking on an offer. The purpose is to persuade the visitor to take action by filling out some information in exchange for the offer. The goal is to get as much information about the prospect as possible, but there is a delicate balance between how much information a prospect is willing to give up in order to get the offer. For example, you can usually get people to give a name, email address, company, and maybe one or two profiling questions such as company type in order to download a white paper. If you are offering a webinar, you can expect to collect more detailed information about the prospect.
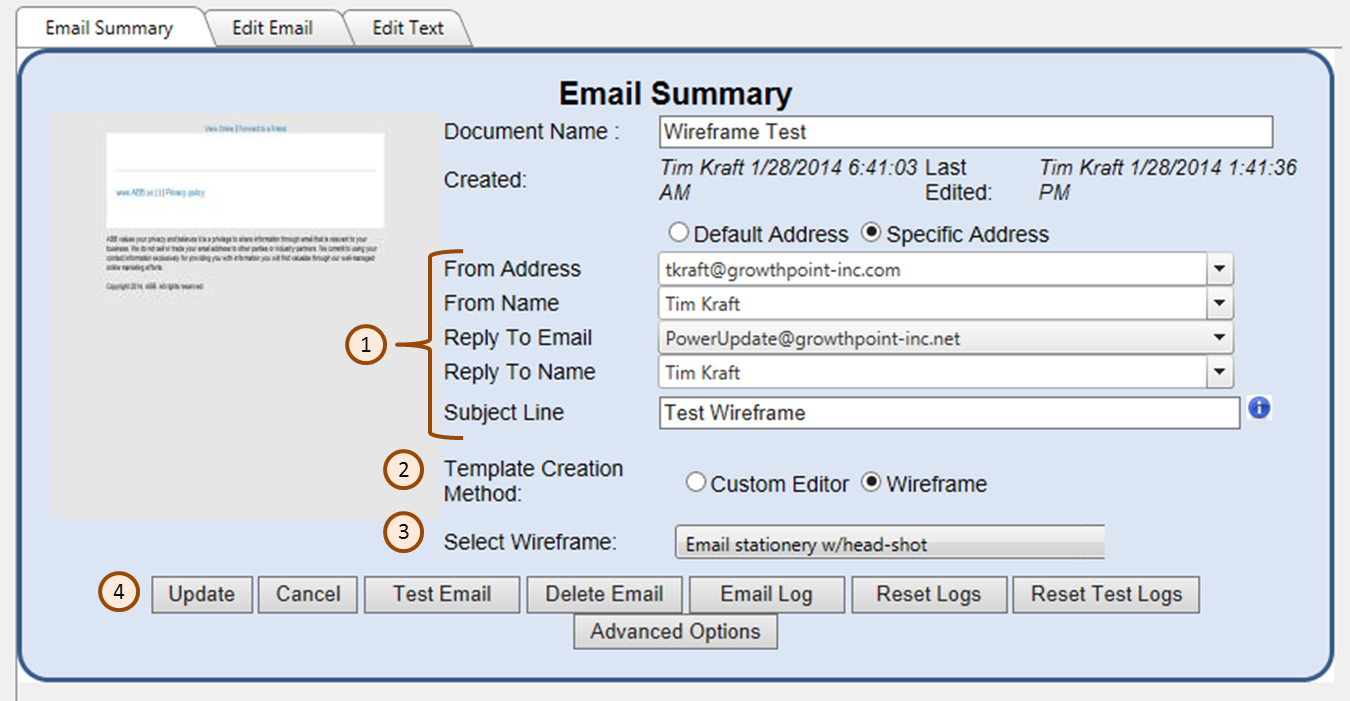
Wireframe Definition
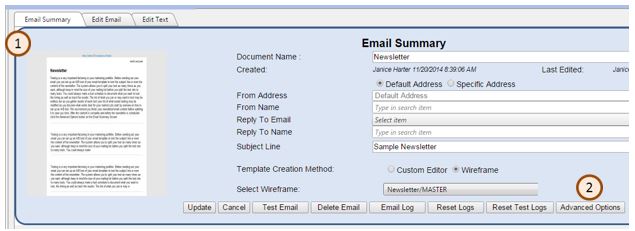
A Wireframe is the preformatted skeleton for an electronic document such as an email or newsletter. The wireframe may include some static content, text and images, that will be included in all documents based on the wireframe. The wireframe includes preformatted placeholders where you will insert your custom content. The wireframe is designed to meet your brand guidelines, including appropriate formatting and use of logos.
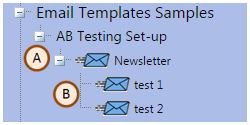
Email Template Definition
A Template is an electronic document, based on a wireframe, that has been customized with your content for a specific audience or application. Because it was based on a wireframe, all templates will have a consistent, professional appearance.
Lead Grade Definition
How a lead is graded is important to sales so they know which leads are most critical to handle first. It is important to not label a lead hot if it really isn’t or when a truly Hot lead comes through it will be ignored. Guidelines can be found below to help you determine how to grade your leads.
- Hot leads: Hot leads are Prospect that have requested action, possibly a RFQ or a sales call, it is possible to have standard grading rules in your LeadCentral set-up that will grade a lead hot based on information provided, for example anytime there is a field that sales Sales Contact Requested a lead is graded Hot.
- Warm leads: Prospect is evaluating options and has specifically expressed interest in your products. The prospect has noted they are working on a project but the timeline is still several months out.
- FYI Only: Prospect has indicated general interest in your company versus a specific product interest, this is a logical grade for someone that registered but did not attend an event.
- Nurture: If you want to capture the lead but not send it to a sales person for follow up. The contact can be targeted with additional value added information in hopes of getting them to request additional information. This is a logical grade for someone that has downloaded a whitepaper but not requested additional information.
- Unqualified: If you would like to follow up with Telesales to further qualify the lead. To set up telesales follow up, please contact GrowthPoint.
Lead Assignment Definition
This is the person responsible for following up on the lead. When setting up a project, the Lead Distribution section allows you to select from a drop down menu who should receive the leads. All leads are assigned, even if they are not sent to sales.
Prospect Email Definition
A Prospect Email is an email sent to a prospect based on their activity, after they have responded or engaged in some way to a tactic. For example, you might want to send everyone who attended your webinar an email thanking them for attending and offering more information that they might find useful. The email should contain a message that will grab the prospect’s attention and tells them how you can solve their problem. Speak to your prospect’s hot buttons, what are the problems that your target experiences. Finally present the results your solution has produced or provide an offer that will help explain solving the problem or how others have solved a problem. Do not make the mistake of just telling the prospect just about what we do, tell them whats in it for them. Consider that you are taking up their valuable time to read your email and trying to get them to download your offer. The goal is to make your prospect want to know more.
Sales Email Definition
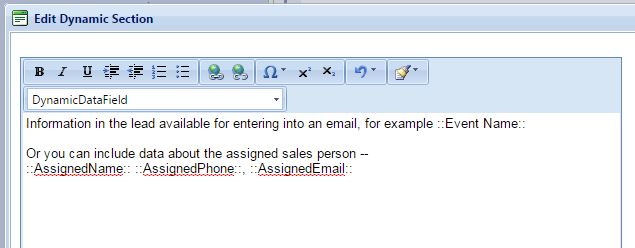
A Sales Email is an email that is sent to the assigned sales person when a Hot or Warm lead is entered into the system. The Sales Email should contain a call to action called a Source Description, that details how the lead was created, what the customer expectations are and how the sales person should handle follow-up. Providing the sales person what they need to effectively have a conversation with the prospect will help them follow up more quickly and have a more productive conversation with the lead. This description should include the information which was received or seen by the prospect. (For example, a link to the whitepaper that was received or a description of an event they attended) The description should include a link to that piece of material making it easier if the sales person has not seen it and does not require them to find it on your intranet. You can also hyperlink to additional material for the sales person to provide the customer, such as whitepapers, product information or a schedule of upcoming events.
Custom Process Definition
A Custom Process is one of the 3 different types of Projects available when setting up a new Project. A Custom Process is used when special handling of the leads is necessary. The leads will follow the rules for Grading and Assigning however the communications that are sent out following the lead entering the process are customized. The grading and assignment rules can also be modified using the process. If you think your Project requires a Custom Process, GrowthPoint is available to assist you with this setup.