In this step, you will use a new wireframe that you selected and named, and fill it in with the text, pictures, and other information to create your email.
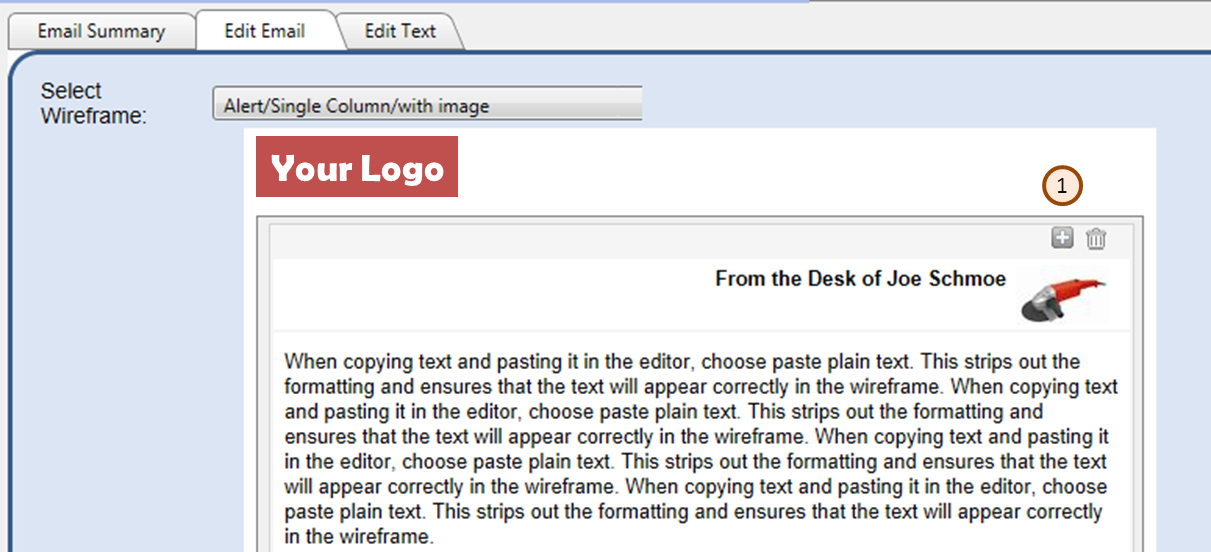
From the Marketing Resource Center, use the left navigation pane to find and open the desired email template. The blue envelope under your project will signify the prospect email. Click the Edit Email tab to view the blank wireframe template, ready to add your content.
Wireframe Tour
- The template will show placeholders for your dynamic or variable content (text, images, links etc.).
- Places where you can enter text are indicated by placeholder text.
- Places where you can enter images are indicated by a grey box with the dimensions of the available area in pixels.
- The image also shows the fixed content that is common to all emails based on this wireframe.
You cannot change the design of a wireframe. Contact GrowthPoint to discuss if there is not an existing wireframe to meet your needs. If you want to recheck the available wireframes, the available wireframes can be previewed from the Marketing Resource Center Tools menu option entitled View Wireframe Samples.
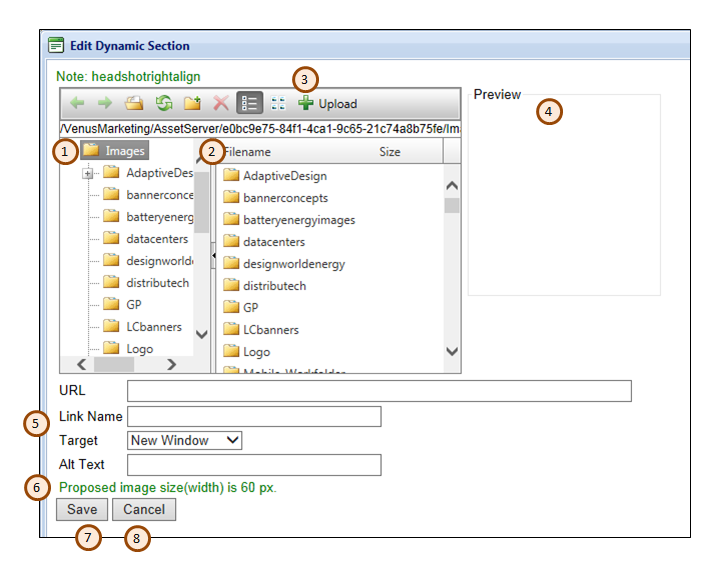
To add an image click on a grey images placeholder in the wireframe. This opens the Edit Dynamic Section window (shown to right) where you can select an existing image or upload a new image. Image placeholders have a suggested image size displayed in the wireframe. You will also see the image size indicated in the window when you click the grey image placeholder to add your images. Images uploaded will be resized automatically. If you do not want to the system to resize your image or like how it is done, you can resize the image on your own and upload the new image. This is discussed below.
Choosing an Existing Graphic
From the Edit Dynamic Section window, use the (1 & 2) folder navigation panes to find the desired graphic. Note along the top of the window that you can click icons to Refresh the screen, create a New Folder, and switch views between a list view and thumbnail view. As you click on files in the list on the left, you can see the image in the (4) Preview Window.
Click the (7) Save button to add the selected graphic to the template, close the Edit Dynamic Section window, and return to your wireframe. If you make a mistake while in the Edit Dynamic Section and don’t want to keep the graphic you selected, you can select a different image to replace it, or click the (6) Cancel button to close the Edit Dynamic Section window without saving your changes. After you return to the Edit Email screen, you can also click on the image there to select a different image.
Uploading a New Image
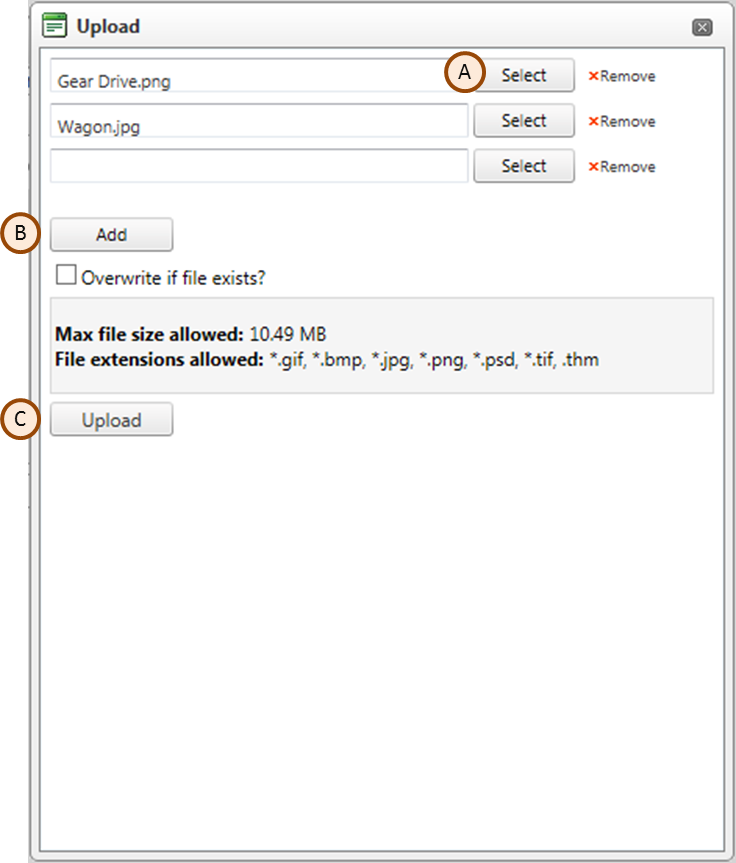
If you need to upload an image, click the (3) Upload icon at the top of the Edit Dynamic Section window. In the Upload window that appears (shown at right), click the (A) Select button. Navigate to the computer and location where the image is located. If you need to add more than three images, click the (B) ADD button. After selecting the images, click (C) Upload to add the images to the list of available files. You can now use the instructions above to add your new image(s) to the wireframe.
Attaching Links to Images
Upload Image Window
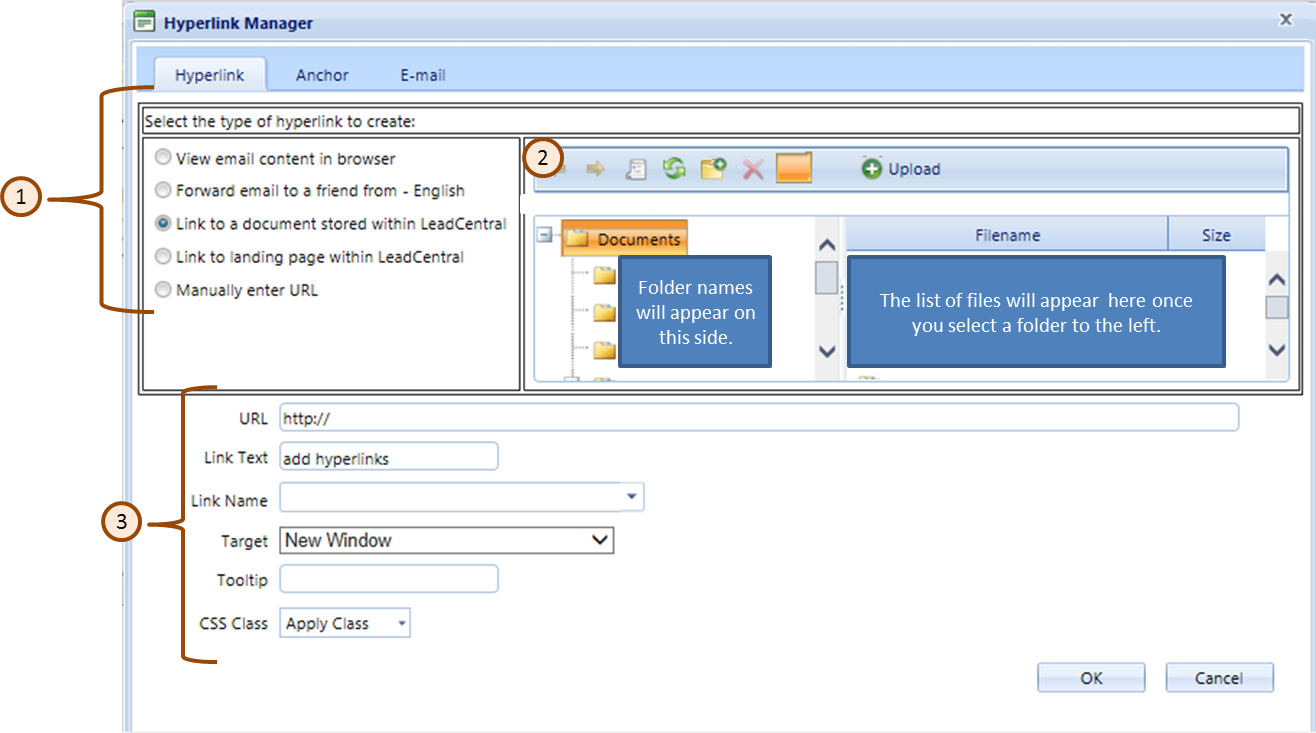
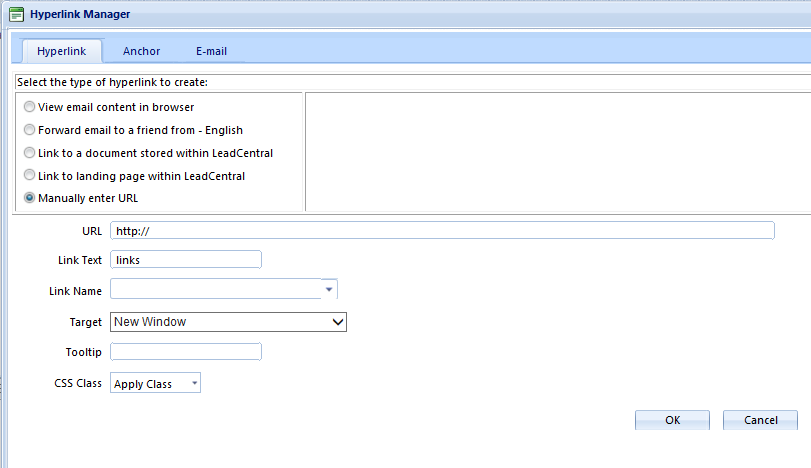
You can make images “clickable,” providing links from them to other resources or websites. Navigate to the target resource and copy the URL. Select the image you want to add the link to which will open the Edit Dynamic Section window. Click in the URL field and paste in the URL. In the Link Name field, provide a descriptive name for the link for reporting purposes. In the Target dropdown, the system defaults to New Window (the linked item opens in a new window), which is the recommended option.
Finally, in the Alt Text field, enter some descriptive text for the image. This text will appear instead of the image for users who view emails as text-only or who have image downloads disabled in their browser. Click (7) Save.
Resize an Image
If you select an image that is too large or too small for the placeholder in the wireframe, the system will proportionally stretch or squeeze the image to fit the placeholder dimensions. The results should be satisfactory however if you do not like the results you can resize your image. If your image is too big for the placeholder, you can use an image editor to resize it. Using Windows Explorer, navigate to the file and right-click it. Look at the “Open with” options available to see if you have an editor, such as Microsoft Office 2010, to open and resize it. If not, you will assistance from someone with editing software. Be careful enlarging your image to ensure the quality is still acceptable.
Need to replace an image
If you want to make changes to the image you uploaded you can make changes to the file offline and re-upload the image. To replace the image you previously uploaded, (A) select the image, keeping the same file name, Check the Overwrite if file exists box which is found under the Add button and click (C) Upload to add your new image. Keep in mind that when you preview your newsletter might see the previous image. If this is the case after you have uploaded a new image clear your computer cache.
No Image for a Placeholder in a Wireframe
If you do not add an image where there is a placeholder, there will simply be a blank area there in your email.

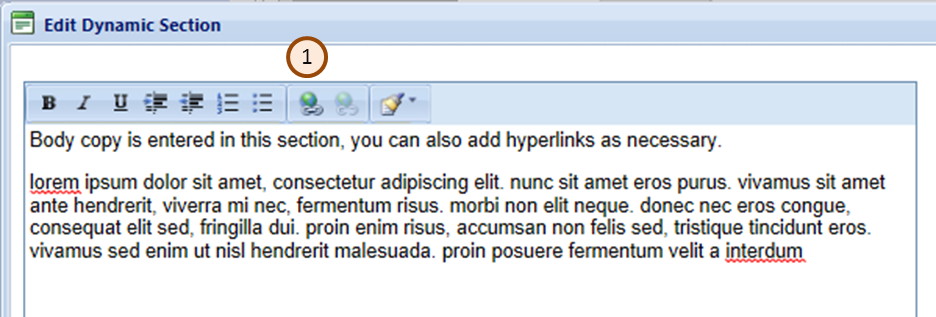
Open your project and click on the prospect email envelope. From the Edit Email tab, click on any block of text in the wireframe. This opens the Edit Dynamic Section window with a text editing window where you can add or edit text. You have the common text editing tools available in the toolbar. When copying/pasting text, the formatting is stripped however to be save when pasting your text you can right click and choose Paste Plain Text. It is important to only enter plain text or past in only plain text into the editor or you will have issues with the font not looking consistent.
You can add data stored in the contact record to your email, but in doing so make sure that all your records have that information and that you test your emails with this information so you know how it looks. More detail on entering this information and testing can be found here.
Also in the toolbar you have the ability to include hyperlinks in the text. After entering or editing text, click Save to return to the Edit Email tab. Note that if you do not update or remove the default text, it will appear in your wireframe. See the module on Hyperlink Manager for more information on working with hyperlinks.
Repeating a Wireframe Section

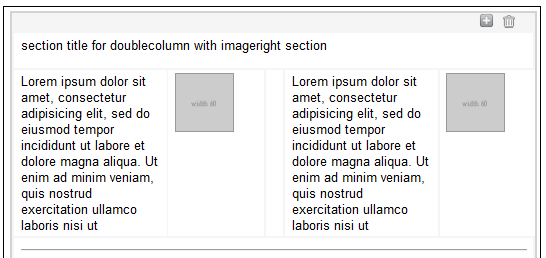
You can repeat the elements of your wireframe by hovering your mouse over the wireframe in the Edit Email window, then clicking the (1) Plus Sign at the top-right of the window. This duplicates all of the elements of the wireframe. You can now edit each of the text blocks individually. You can also replace the repeated images. Remember that if doing put a image in the placeholder that will leave a blank area in your wireframe. Click the Trash Can at the top of the window to delete the repeated section.
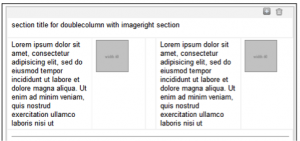 If the content is two columns wide, like the example to the right you do not need to fill out both sections. The section you don’t complete will show up blank. For example you can enter the article on the left and leave the right article blank.
Moving Sections in a Template
After repeating a wireframe section (see above), you can rearrange the sections by clicking a section and dragging it up or down in the template.
Previewing Your Template
At any time, you can click the Preview button to see what your email will look like. While the cursor will change to a pointing-finger when hovering over links, the links are not active.
Adding hyperlinks
Adding hyperlinks allows you direct recipients to landing pages, documents in LeadCentral and other online resources. You can include multiple hyperlinks in the text of your template, enabling the recipient to quickly access the resources. You can also attach links to images.