The very important first step is preparing your lead file to import into the database. You must ensure that the file you send has all the data needed to accurately select the right leads and promptly follow up on them. Begin by deciding before your event starts what data you need to collect. Whether it’s a tradeshow or any marketing event, think about what data will be most valuable to your sales team. Gather only the data you really need so you don’t overwhelm attendees with too many questions.
Which fields to Include in your file
You will deliver your file as an Excel spreadsheet. As you create the file that will be import into the LeadCentral database, include only the fields you want entered and skip the rest. Be sure to include the fields needed to assign leads. If your sales team works in geographic regions, those fields would typically include Zip Code domestically, or country for international sales. Your company may need other fields to assign leads. Include those fields in the right format so leads are properly assigned. Look in the Tools menu for a Lead Import Format Template to help guide your field selection.
Common questions about file content
Grading: Contacts are typically graded by quality. If you want to include contact grade in lead assignment, include it as a field in your database. You can then include grade as part of the logic in selecting contacts for a marketing tactic.
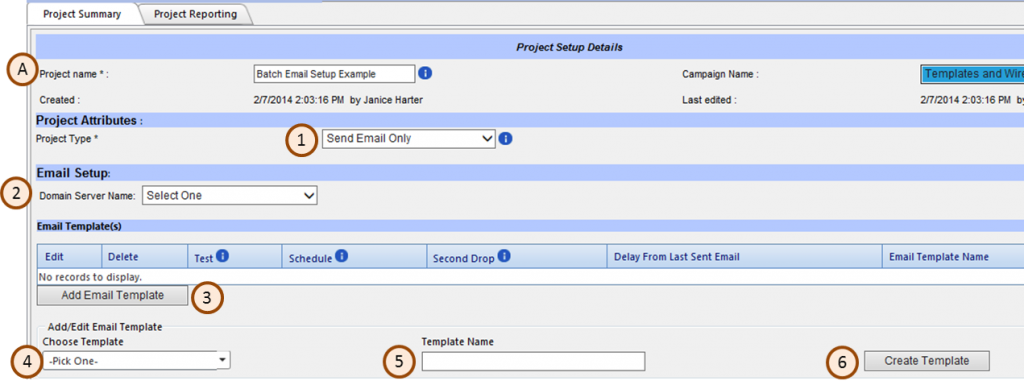
Lead Assignment: Leads can be assigned to a channel that is set up into the system already, all to one specific person, or indicate a specific person per per lead in your file. To do this, the channel or contacts that will be receiving leads needs to be in the LeadCentral User Resource Center. To assign the leads based on zipcode to a channel, indicate the appropriate channel in the project.
If you want to assign the leads to a specific person per lead the project should have the channel set to Landing Page. In the file add column with the header of LandingPageAssignment in the column the ContactID of that desired contact needs to be listed. The ContactID is found in the User Resource Center. After looking up the Contact column the column with the number. The final format will be ContactID=# (for example ContactID=278)
If necessary there can be a “Channel” column in the spreadsheet with the value of Landing Page versus setting the channel in the project.
If you want to set a secondary assignment in the file the column header for secondary assignments is LandingPageSecondaryAssignment, the value in that field is ContactID=#.
Labeling/Naming columns: The heading or name of each column becomes the label for that column’s data in LeadCentral. When possible, use field names that already exist in LeadCentral. For new, unique fields, use short, descriptive names. Any non-demographic data will appear in the Additional Information section on the lead detail sheet.
Grade leads based on standards
How a lead is graded is important to Sales so they know which are to handle first. Don’t label a lead “Hot” if it really isn’t just to encourage Sales to act on it because that could mean truly Hot leads may not be followed. Guidelines can be found below to help you determine how to grade your leads.
Hot leads: These prospects have requested action, possibly an RFQ or sales call. You can create grading rules in LeadCentral to grade a lead Hot based on information provided. For example, you can create logic in emails and websites that grade a lead Hot any time a contact requests a followup from your Sales team.
Warm leads: These prospects are evaluating their options and have specifically expressed interest in your products. These prospect are typically working on a project but have a timeline that is several months out.
FYI Only: Prospect has indicated general interest in your company versus a specific product interest. This is a logical grade for someone who registered for, but did not attend, an event.
Nurture: Use this grade if you want to capture the lead but not send it to a sales person for follow up. The contact can be targeted for additional follow up in hopes of increasing their interest in your products or company. This is a logical grade for someone that has downloaded something from your website but not requested additional information. A typical system set up will also include a system rule that grades a lead Nurture automatically if the same contact has been entered into the same project in the last 30 days.
Unqualified: This is the grade for lead you would like to follow up with via telesales to further qualify. Assigned Sales people cannot see leads graded unqualified. To set up telesales follow up, contact GrowthPoint.
Cold: This is the grade that is set for Competitors and Employees automatically. It is possible to set up a special filter rule to grade additional leads cold such as Distributors, or students if this is something your company would like. Assigned Sales People cannot see leads graded Cold.
If your lead file includes grades, the grades in your file will override the default grade set up in your project. However, if there is a filtering rule in place that rule will override the grade in your file and the grade in the project. For example if you have a employee in the file that is graded Warm, the system rule that filters out employees and grades them cold will take affect, thus grading your lead cold.
Email file to GrowthPoint
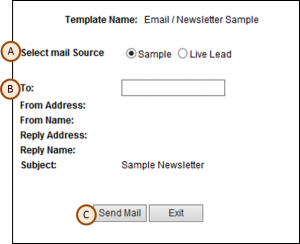
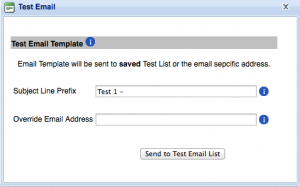
After you set up your project and test your email templates, you or your media vendor can send Excel files of your lists to GrowthPoint at [email protected] for import. You can send files individually or on a daily, weekly or monthly schedule.
When you email the list, include the exact campaign name, project name, and the contact information (email and phone) for the person that managing the project.
It is possible to set up an automatic feed to GrowthPoint of individual leads as they are generated from third party vendor marketing programs. To learn more, contact GrowthPoint.


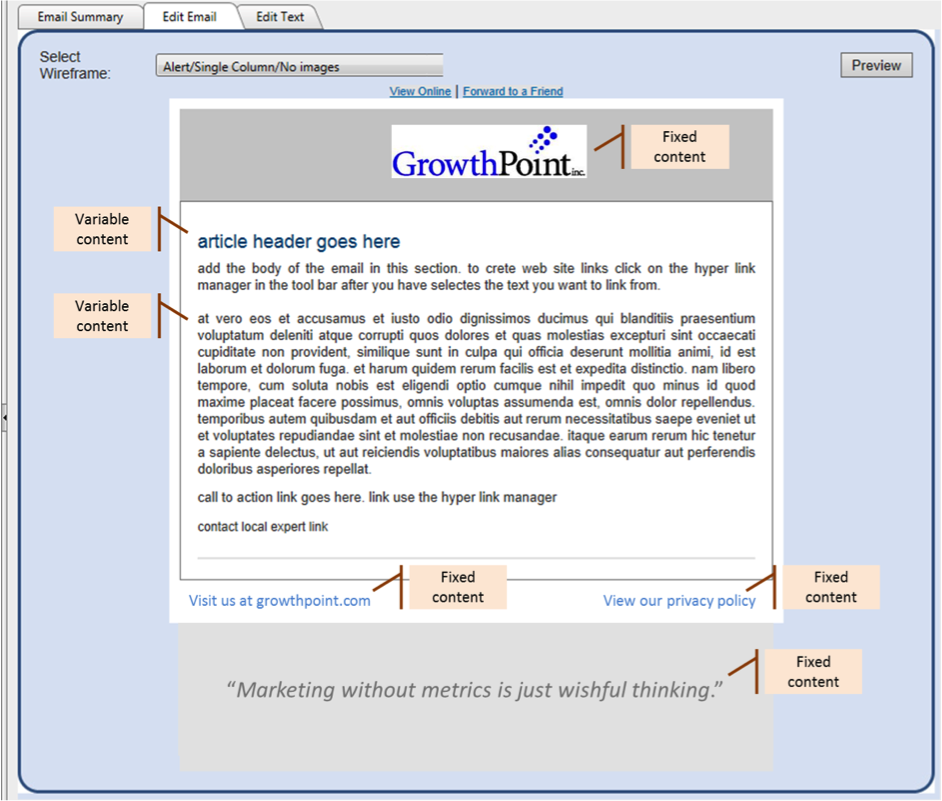

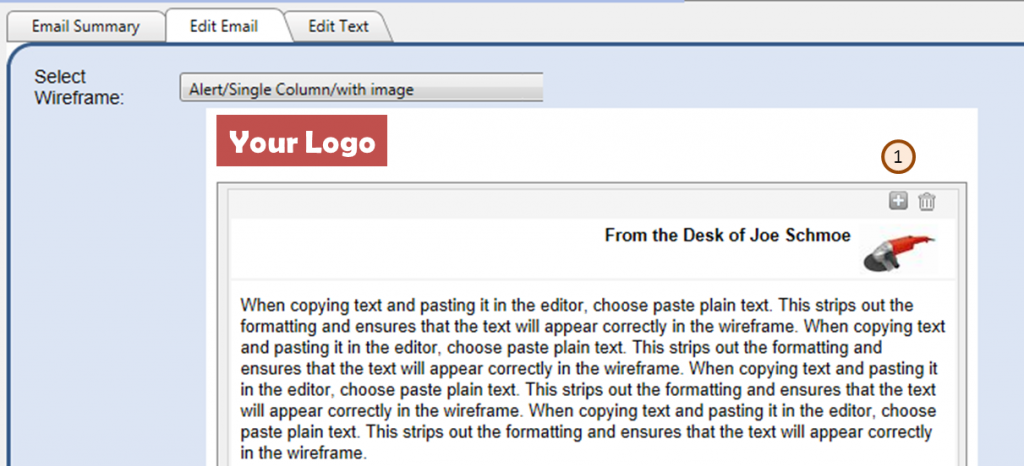
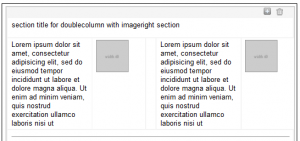
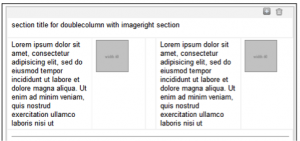 If the content is two columns wide, like the example to the right you do not need to fill out both sections. The section you don’t complete will show up blank. For example you can enter the article on the left and leave the right article blank.
